How to Reactivate an Expired Upload Page
Learn how to turn off expiry for a SendToDrive upload page so an expired form can accept files again without being recreated.

If your SendToDrive upload page says it has expired, you usually do not need to recreate it.
This can happen when a page was created on the free plan. After upgrading to a paid plan, the previous expiry setting may still be saved on that page.
Quick fix
- Log in to SendToDrive.
- Go to My Upload Pages.
- Select the page that says expired.
- Open Settings.
- Find Enable expiration.
- Untick Enable expiration.
- Click Update.
Step 1 - Log in to SendToDrive
- Log in to SendToDrive.
Step 2 - Go to My Upload Pages
- Go to My Upload Pages.
Step 3 - Select the page that says expired
- Select the page that says expired.
Step 4 - Open Settings
- Open Settings.
Step 5 - Find Enable expiration
Open the expired upload page and go to Settings. In the Expiration section, you will see Enable expiration.
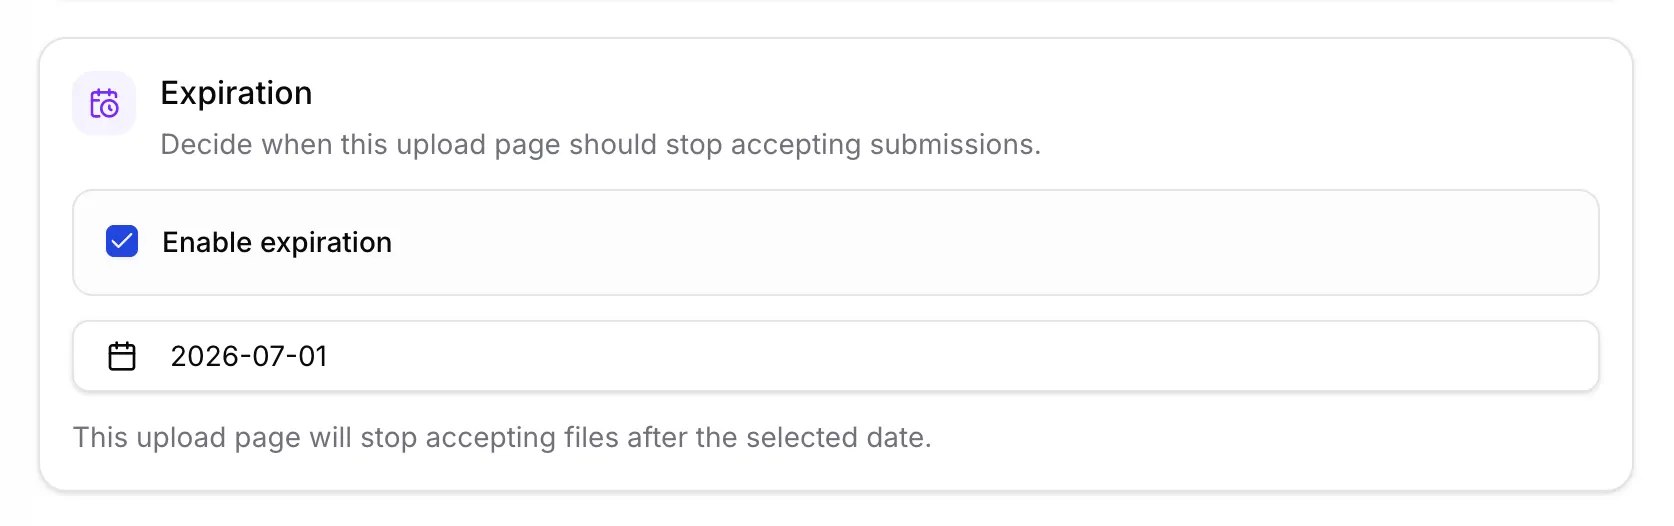
When Enable expiration is ticked, the upload page stops accepting files after the selected date. Untick it and click Update to make the page active again.
Why the Page Can Still Say Expired After Upgrading
This can happen when a page was created on the free plan. After upgrading to a paid plan, the previous expiry setting may still be saved on that page.
If it still looks expired
Refresh the upload page link, make sure you clicked Update, and confirm that you edited the correct page. If it still does not work, contact SendToDrive support with the page title or link.
Summary
Log in to SendToDrive -> Go to My Upload Pages -> Select the page that says expired -> Open Settings -> Find Enable expiration -> Untick Enable expiration -> Click Update
Learn how to turn off expiry for a SendToDrive upload page so an expired form can accept files again without being recreated.