Upload Files via QR Code (Complete Guide)
A complete guide to uploading files via QR code for fast, contactless, and login-free file collection.

Sharing links works well — but sometimes even links can feel like unnecessary friction. In physical spaces, events, classrooms, or client meetings, the quickest way to collect files is often through a QR code.
With the right setup, you can let anyone upload files via QR code using their phone, without logins, apps, or shared folders.
This guide explains how QR-based file uploads work and when they make the most sense.
Why Uploading Files via QR Code Is So Effective
QR codes remove several steps from the file upload process.
Instead of:
- Typing URLs manually
- Searching through emails
- Asking for links again
Users simply scan and upload.
This is especially useful when:
- Users are on mobile devices
- You are interacting face-to-face
- Speed and simplicity matter
- Technical skill levels vary
What “Upload Files via QR Code” Really Means
A QR code itself does not upload files. It simply points to a secure upload page.
The ideal QR-based upload flow looks like this:
- The user scans the QR code
- A secure upload page opens in the browser
- The user uploads files
- The files are saved directly to your storage
No app installs. No accounts. No shared access.
How to Upload Files via QR Code Step by Step
Step 1: Create an Upload Page
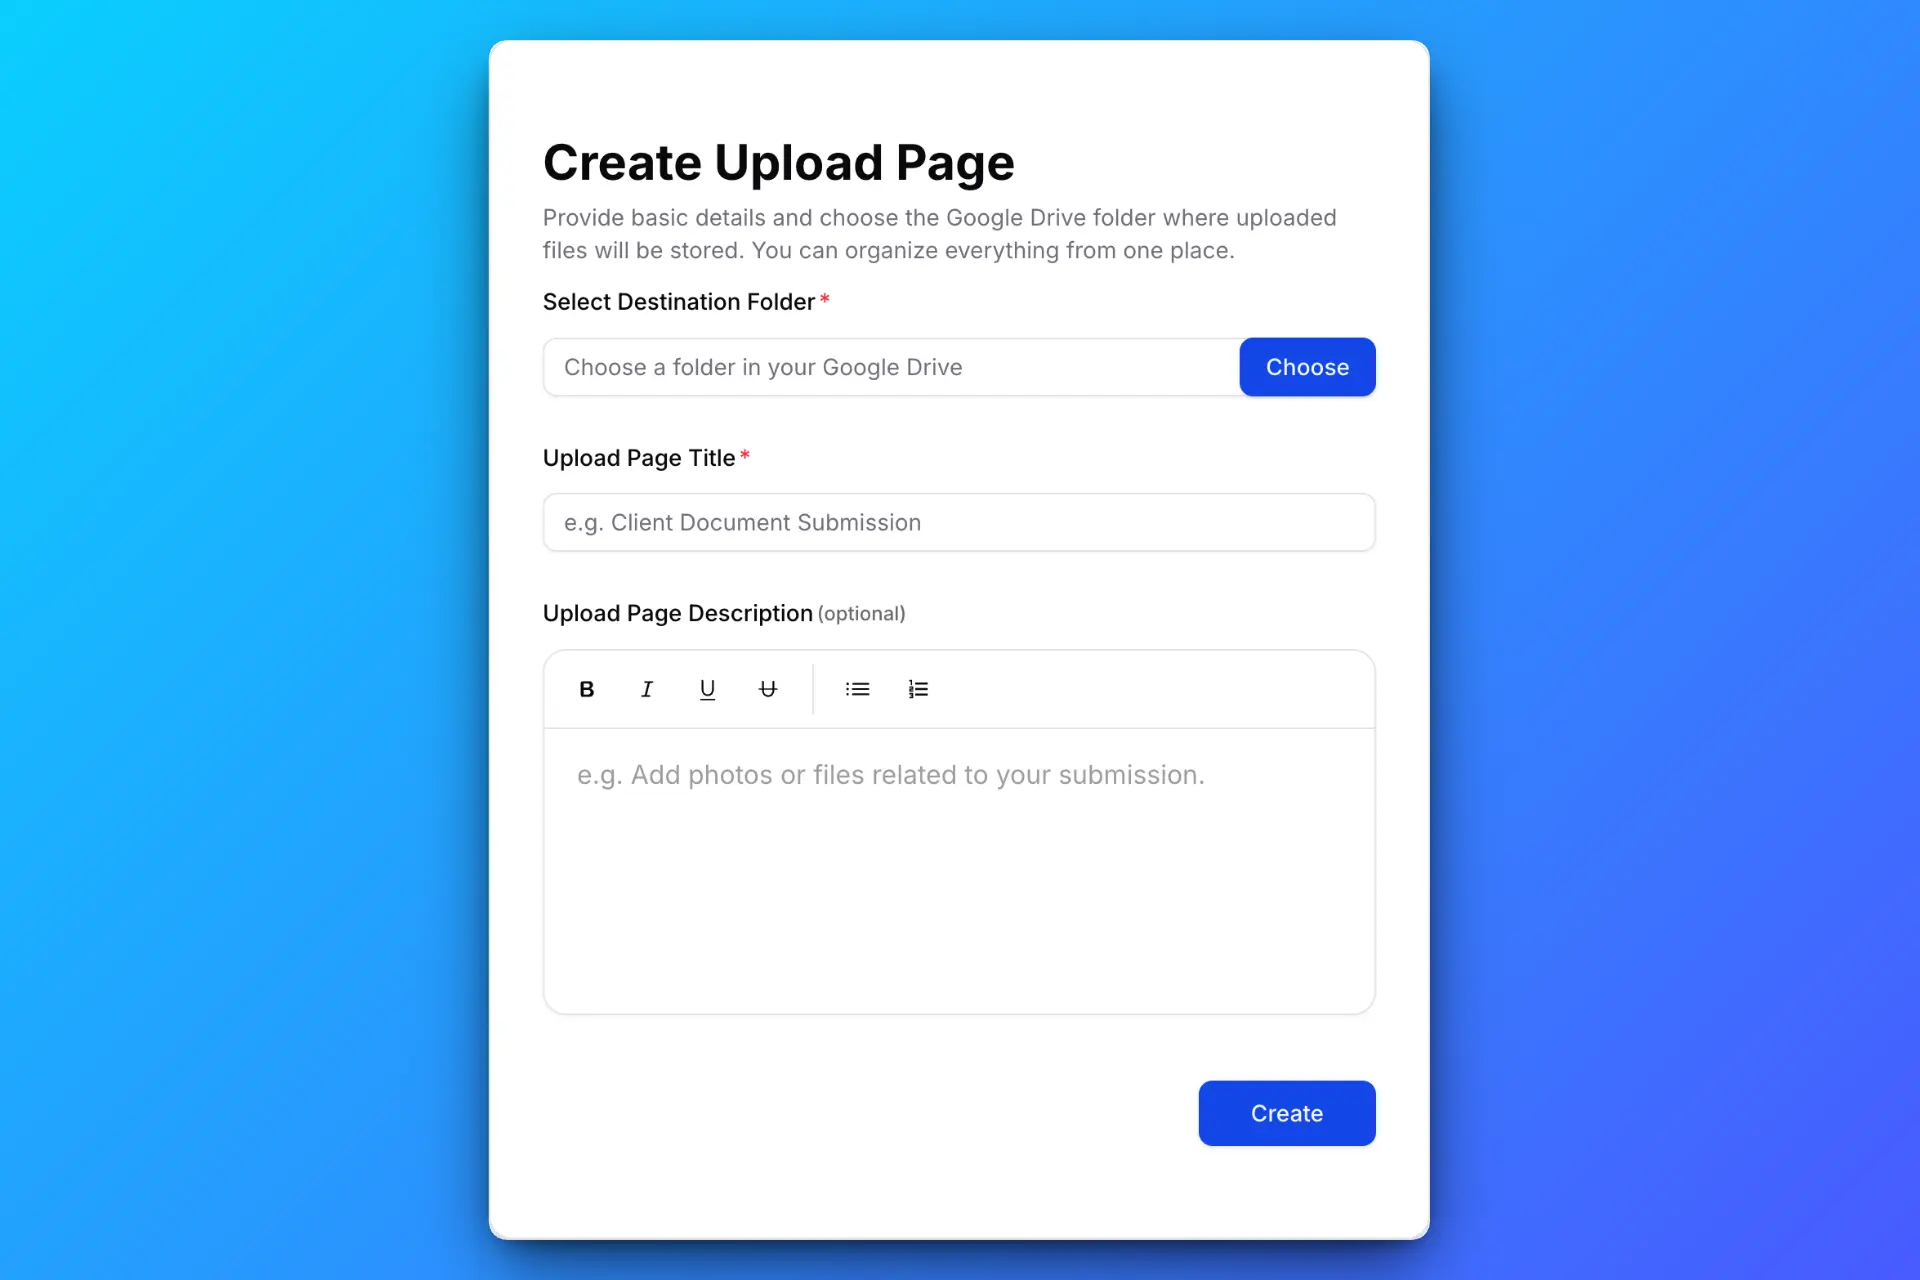
Start by creating an upload page with clear instructions. Choose the destination folder in your Google Drive where uploaded files should be saved.
You can configure upload rules such as:
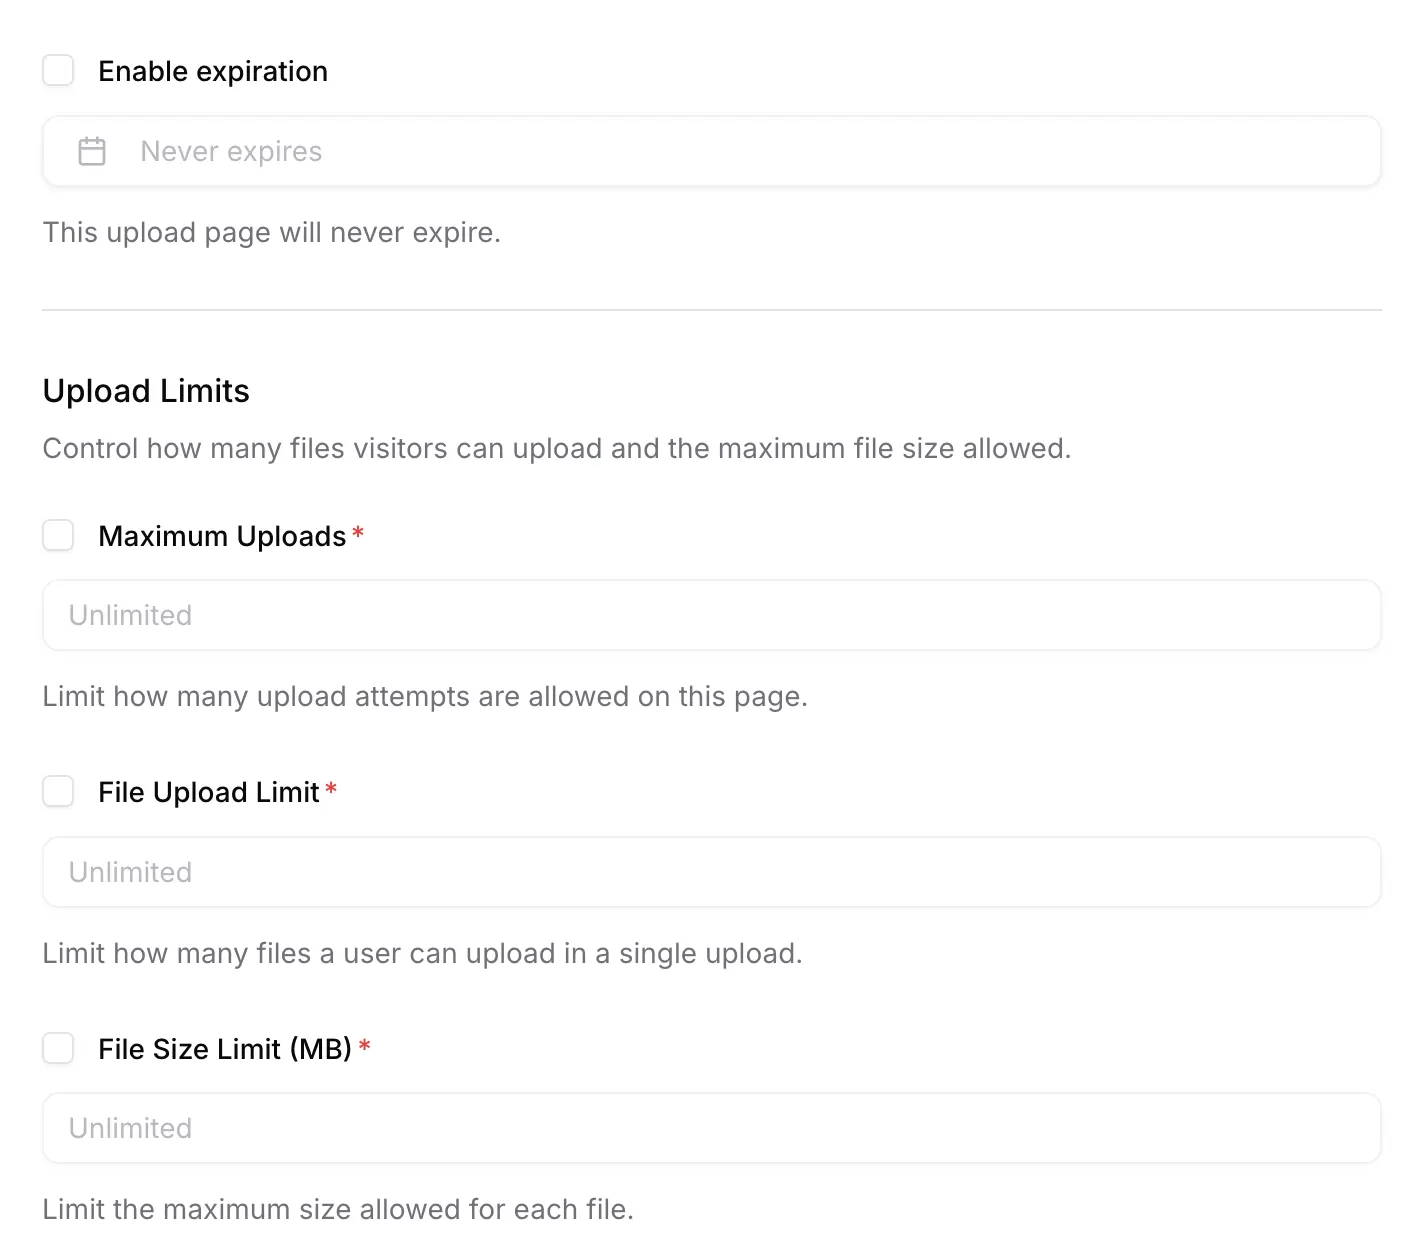
- Maximum file size
- Allowed file types
- Expiry date
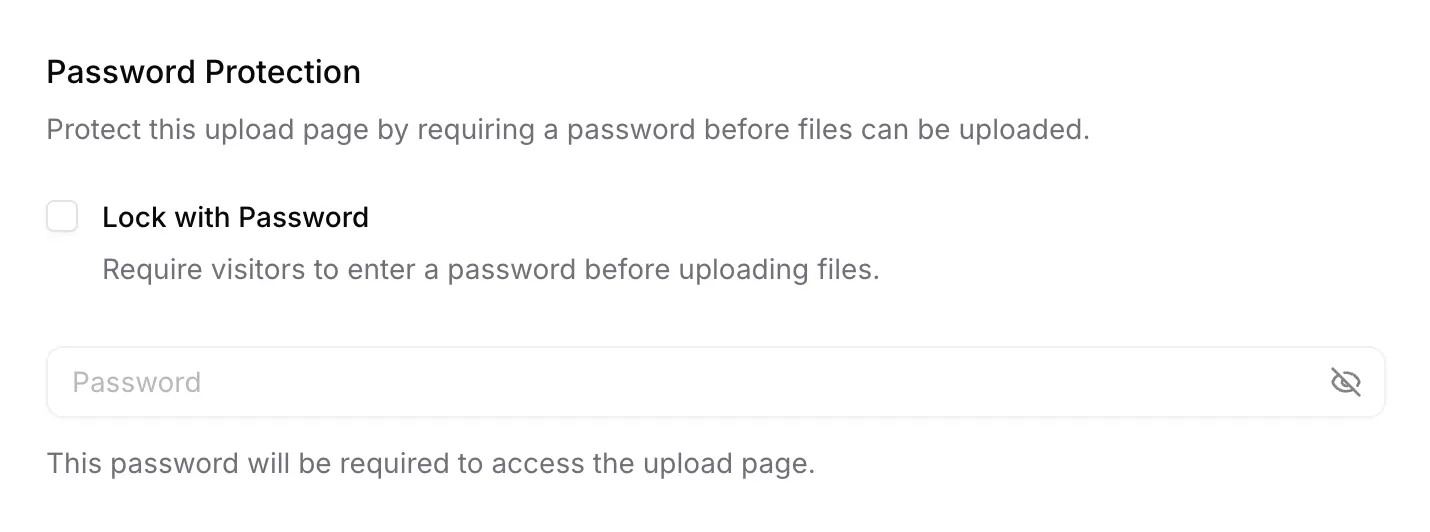
For sensitive environments, enable password protection.
Step 2: Generate a QR Code from the Upload Link
Once your upload page is ready, generate a QR code from the upload link.
You can:
- Print it on posters or flyers
- Display it on a screen
- Add it to presentations
- Include it in physical documents
The QR code simply opens the upload page in the user’s browser.
Step 3: Users Scan and Upload Files
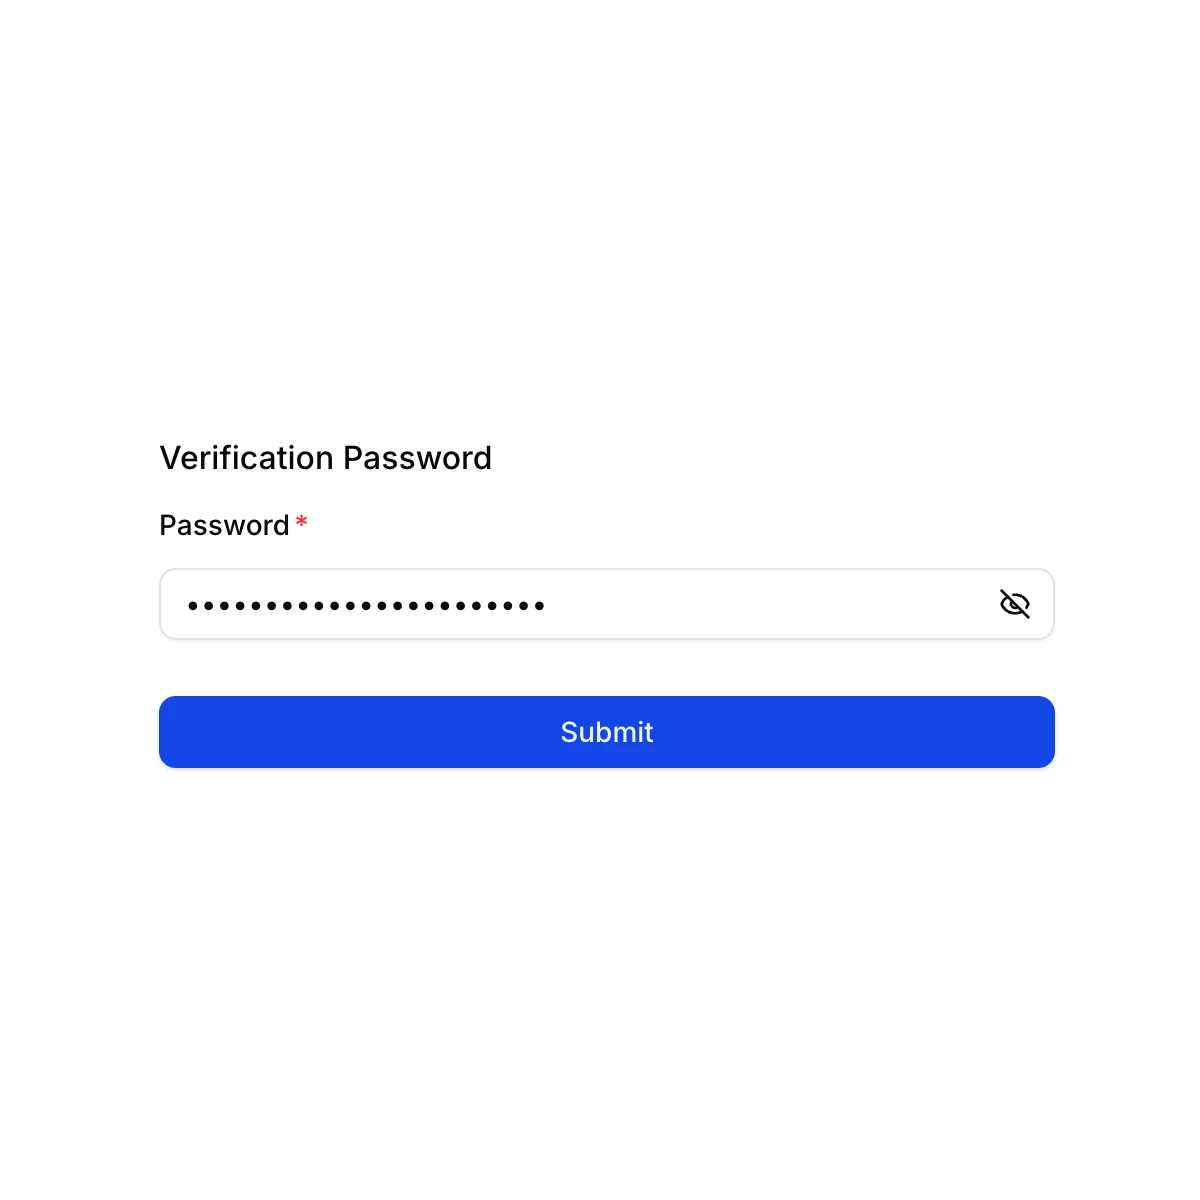
If password protection is enabled, users will need to enter the password first.
After that, they will see a clean upload interface optimised for mobile devices.
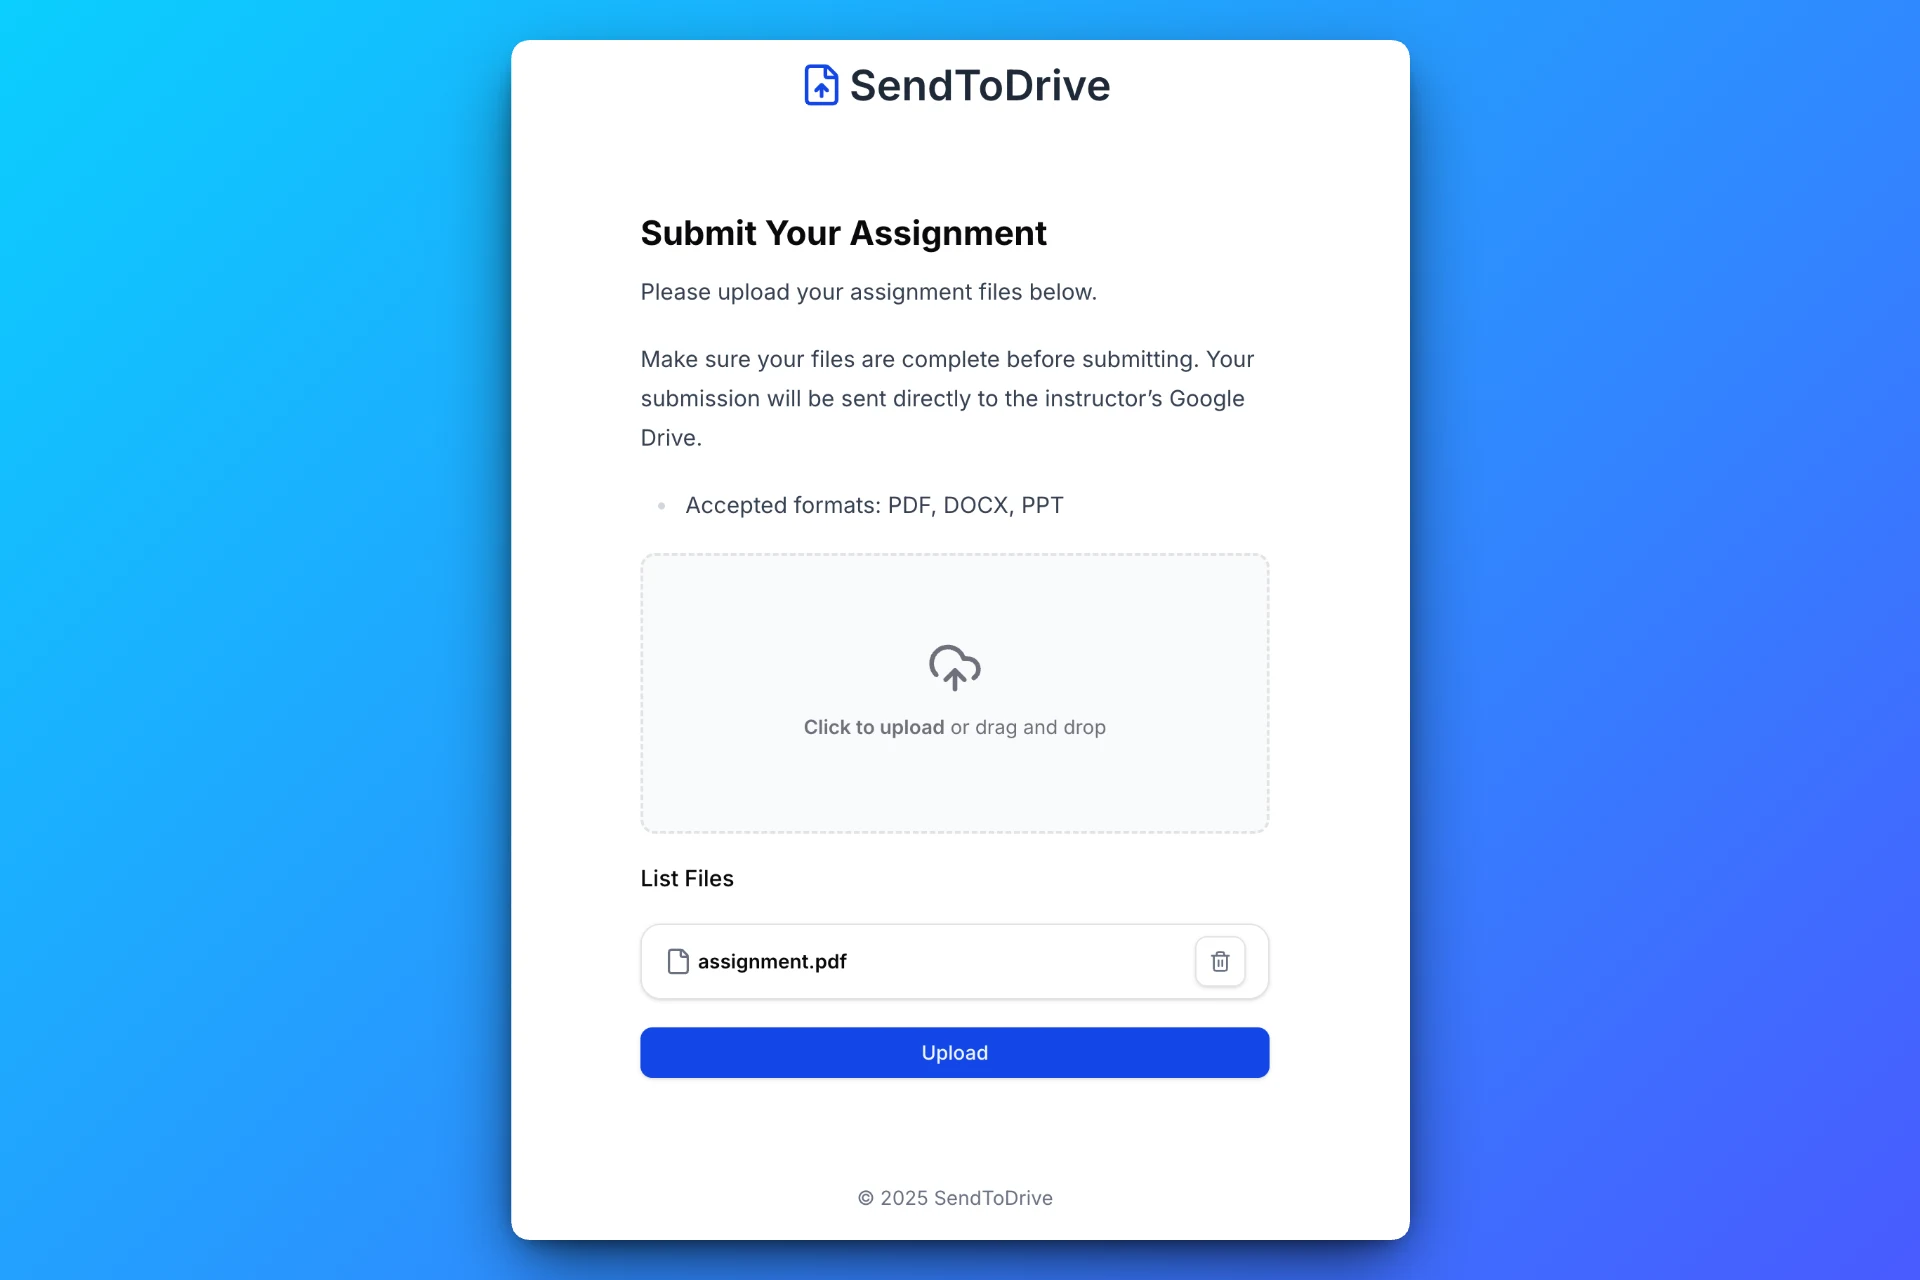
Users can upload files directly from their phone or device.
Step 4: Files Are Saved Automatically
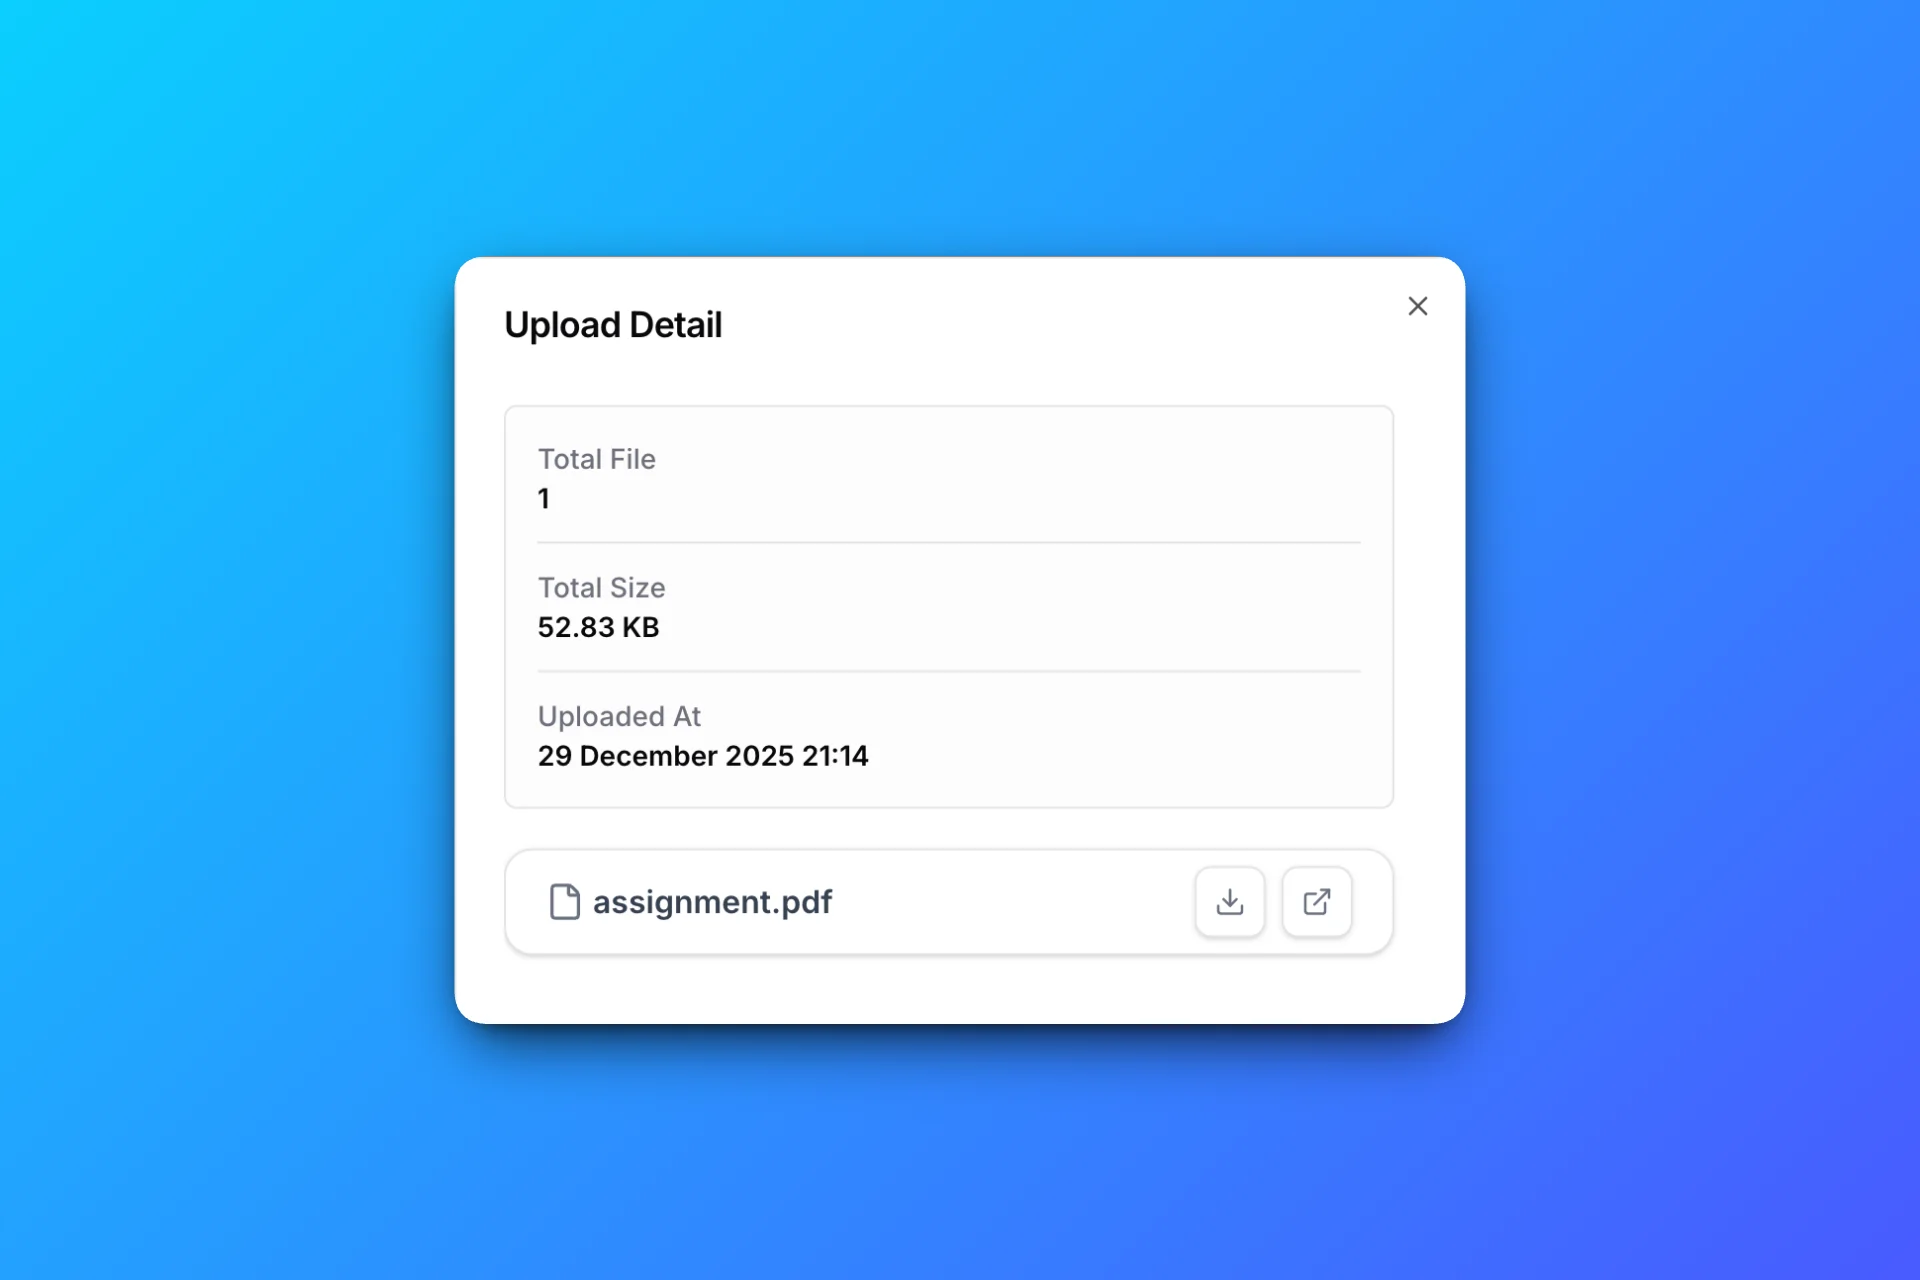
All uploaded files are delivered directly into your selected Google Drive folder, organised and ready to use.
Real-World Use Cases for QR Code File Uploads
Education
Teachers can collect assignments or exam submissions by displaying a QR code in the classroom.
Events & Conferences
Event organisers can instantly collect photos, feedback files, or documents from attendees.
Print Shops
Customers can upload design files by scanning a QR code at the counter.
Why QR Code Uploads Beat Traditional Methods
Compared with email or shared folders, QR-based uploads:
- Eliminate typing errors
- Work instantly on mobile
- Require no accounts
- Keep your storage private
- Reduce the need for staff assistance
They are especially effective for face-to-face interactions.
Using SendToDrive for QR Code File Uploads
SendToDrive makes QR-based file collection simple.
With SendToDrive, you can:
- Create upload pages in minutes
- Turn upload links into QR codes
- Accept files without logins
- Apply limits and password protection
- Save files directly to Google Drive
No custom development is required.
Frequently Asked Questions
Do users need an app to upload files via QR code?
No. Uploads work directly in the browser.
Can I restrict which files are uploaded?
Yes. You can limit file size, file types, and access.
Is this secure?
Yes. Uploaders cannot see your Google Drive or any other files.
Where do files go after upload?
Files are saved directly into your Google Drive folder.
Final Thoughts
QR codes make file uploads faster, especially in mobile-first and in-person scenarios. When combined with a secure upload page, they become a powerful way to collect files without friction.
👉 Try SendToDrive and start accepting file uploads via QR code in minutes.