How to Change an Upload Page Destination Folder
Change the Google Drive folder where an existing SendToDrive upload page stores new files from the page Info menu.
You can change where an existing upload page saves new files without creating a new page or changing its public link. The destination setting is available from the upload page's Info menu.
Changing the destination affects future uploads only. Files already stored in the previous Google Drive folder are not moved automatically.
Step 1 — Open the upload page
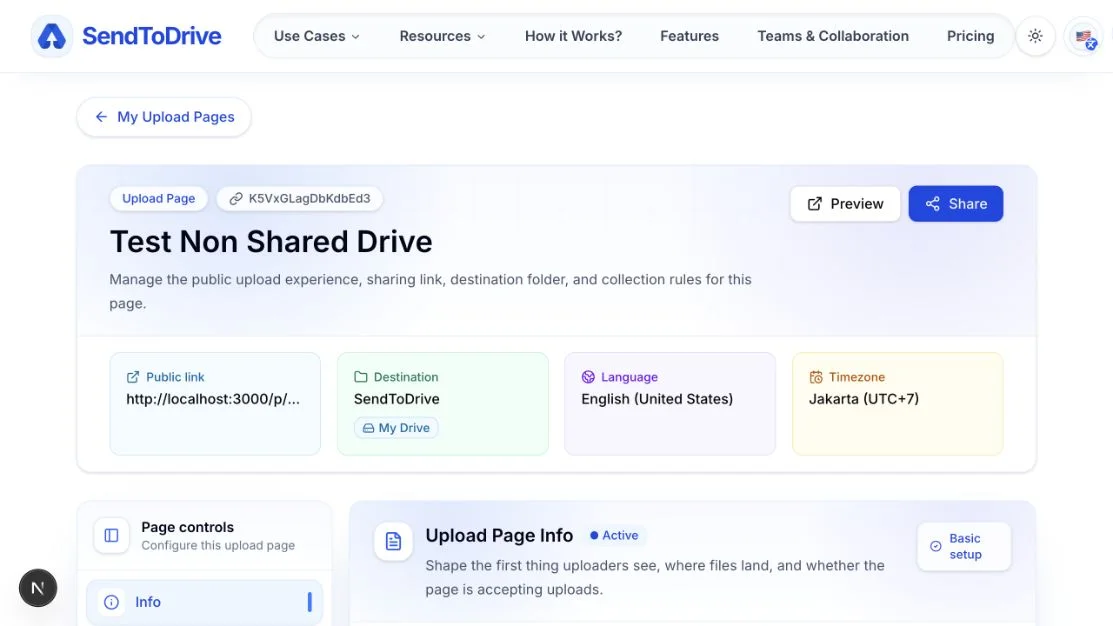
Sign in to SendToDrive and open My Upload Pages. Select the upload page whose destination you want to change.
The page dashboard shows its current destination, public link, language, and timezone.
Step 2 — Open Info and find Folder destination
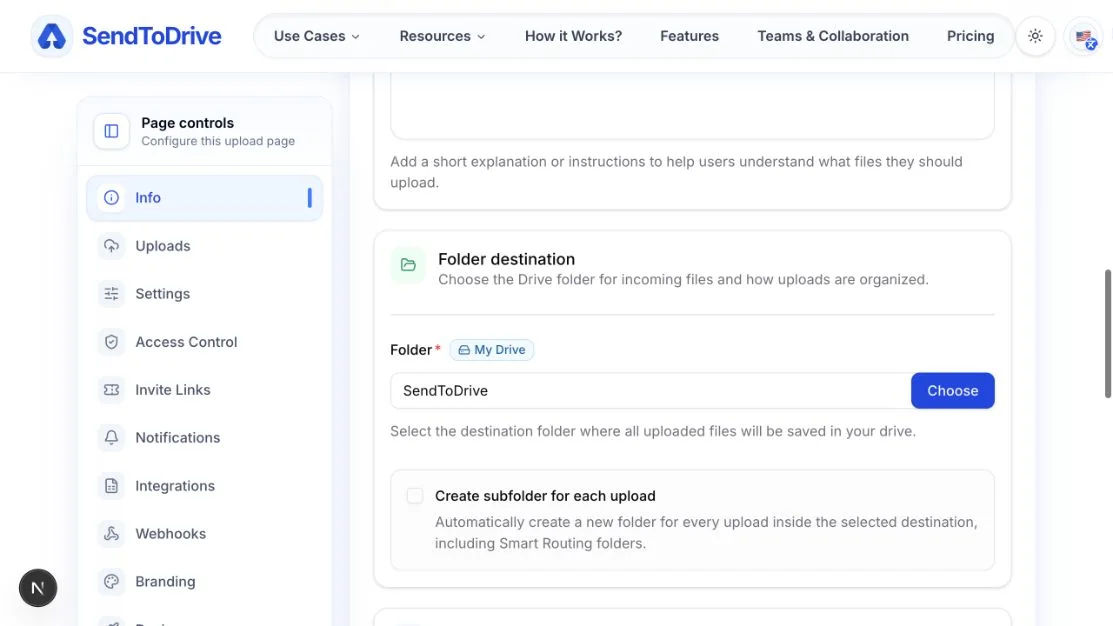
Select Info in the Page controls menu. Scroll to the Folder destination section.
The Folder field shows the current destination. The My Drive or shared-drive indicator tells you where that folder is located.
Step 3 — Choose the new destination folder
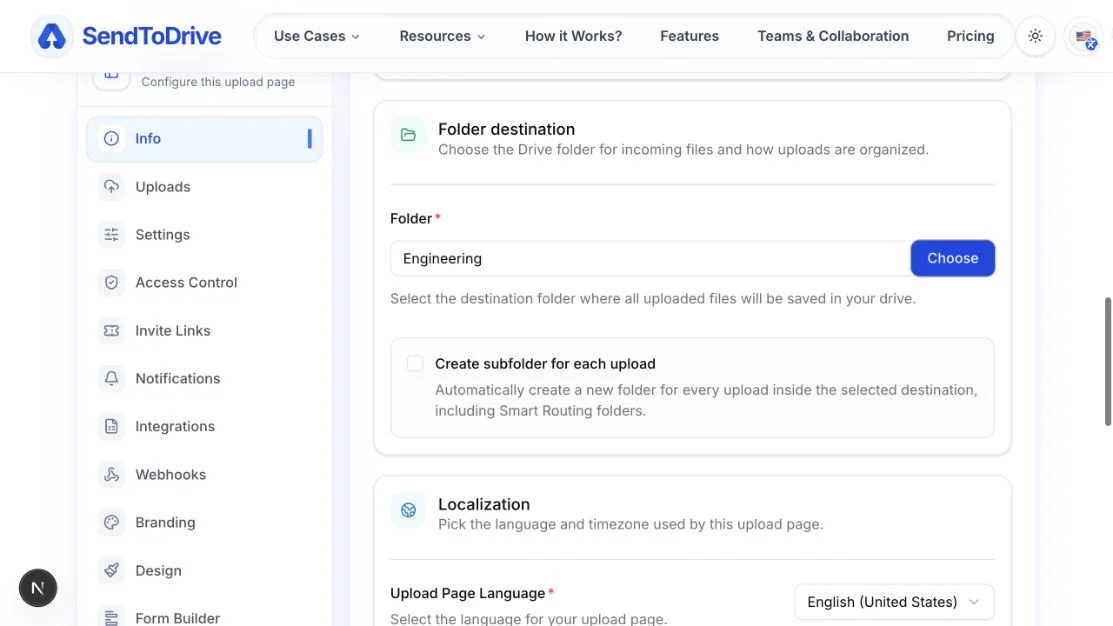
Click Choose to open the Google Drive folder picker. Select a folder that the connected Google account can access, then click Select.
You can also paste a Google Drive folder URL into the Folder field. The connected account must have access to that folder.
The new folder name appears in the field, and SendToDrive marks the page as having unsaved changes.
Step 4 — Review the subfolder setting
Check Create subfolder for each upload before saving. When enabled, SendToDrive creates a separate subfolder for every new submission inside the new destination folder.
This option also applies when Smart Routing sends uploads into routed folders. Changing the main destination does not move existing folders or submissions.
Step 5 — Save with Update Info
Review the selected folder, then scroll to the bottom of the Info form and click Update Info.
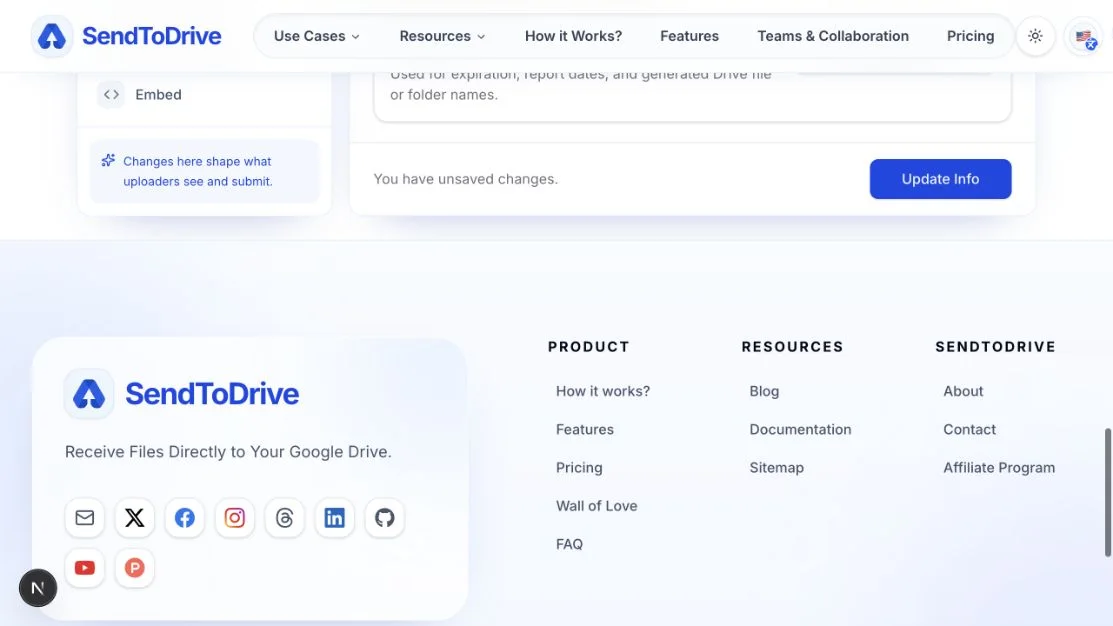
After the update succeeds, the destination summary at the top of the page shows the new folder. The public upload link stays the same.
What changes after saving
- New uploads are stored in the new destination folder.
- Existing files remain in the previous folder.
- The upload page title, settings, access rules, and public link do not change.
- Smart Routing and per-upload subfolders continue to follow their configured rules inside the applicable destination.
Troubleshooting
If the folder does not appear in the picker, confirm that the connected Google account can access it. Use the Shared drives tab for a shared-drive folder.
If Update Info remains disabled, select a folder different from the current destination or change another Info field. If saving fails, verify that the connected Google account still has permission to use the selected folder.